RemoteLoRa – more than ON/OFF
-
RemoteLoRa – more than ON/OFF
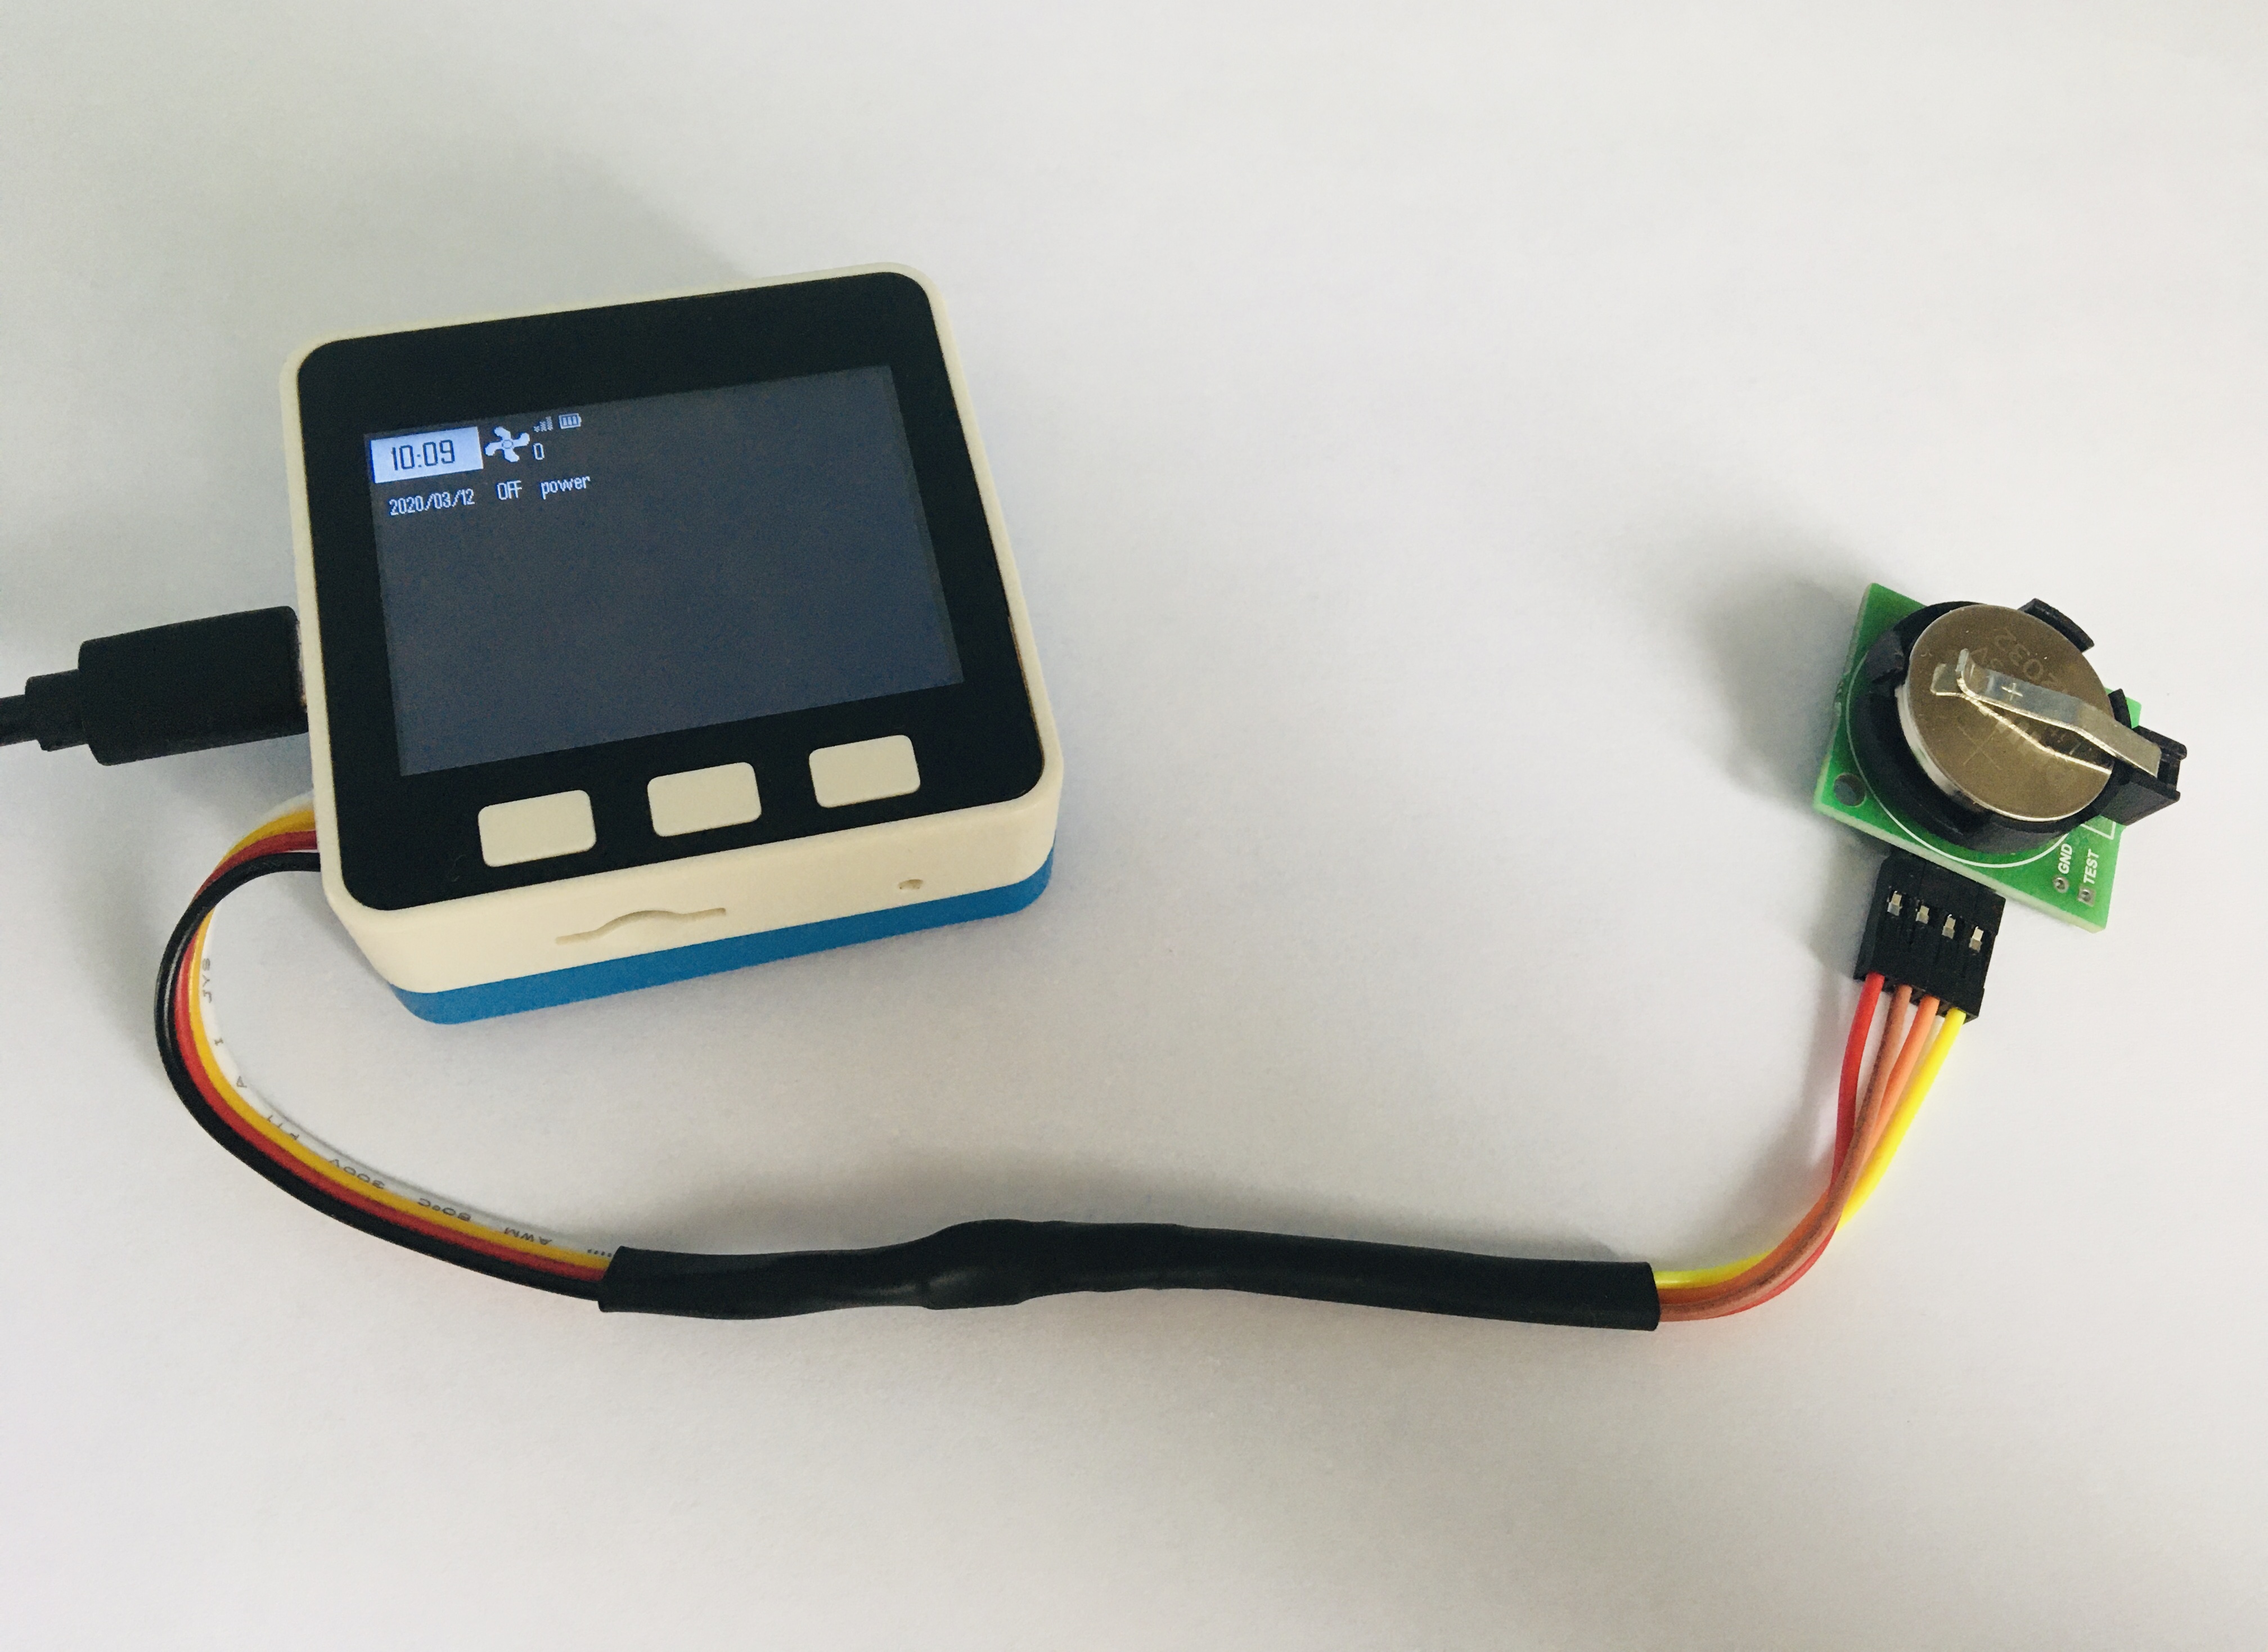
Figure 1
Today in the market you can find a bunch of all kinds of radio remotes. One of the most popular is the model based on IC2262/2272 (Figure 2). The solution is quite suitable for itself, but only in case you do not need feedback, encryption (or addressing) and analog mode.
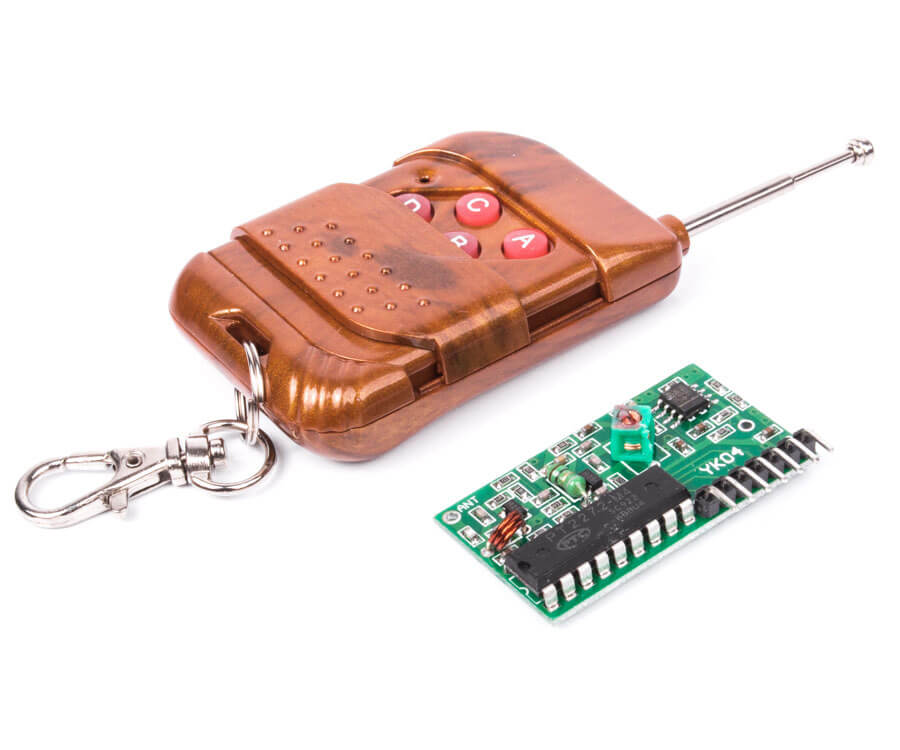
Figure 2
I wanted to make an improved prototype of such a keyring, which will have in itself those advantages that are not in the existing solutions.
To create a prototype, I use the Base Unit M5Stack BASIC (you can buy here) with the pre-installed LORA Module and connected via I2C real clock time (because Wi-Fi with NTP to knit here will be superfluous).
When you turn on the device for the first time, it suggests choosing the type of connection with the client device - asynchronous or synchronous. If synchronous is selected, the device will wait for the control value from the slave, then signal (triangular icon with an exclamation mark).
It is further proposed to choose the type - digital (HIGH and LOW) or analog (-127 ... + 127). In digital mode, when accessing the slave device, HIGH or LOW will be transmitted alternately, and with an analog counter, increased by one. If an analog type is selected, the device will ask for the minimum and maximum value within which the counter will operate.
Next, the device will ask - will the key be used? (or
call the address whatever you want). If you select a closed lock, the device will wait for the key from the slave. For demonstration purposes, the slave is Arduino Nano with Module Ra-01. When turned on, the Arduino sends a key. This is visible in the video.Next, you can select the icon for the slave (Figure 3).

Figure 3
After you select the icon, you will be asked to select units or qualifying words, such as: "power", "red", "green", "blue", "cold", "warm", "$", " % "," oC "," uV "," mV "," V "," uA "," mA "," A "," uW "," mW "," W "," m / s "," km / H "," ug "," mg "," g "," kg "," mL "," L "," rpm "," dBm "," ". It is important!
After all the steps have been completed, you need to save this configuration by pressing the button A (or C to cancel).
The device will reboot and you will see the clock, date and time, battery charge, signal strength indicator, previously selected slave icon, device serial number to the right of the icon (starts from zero), default value and unit.
To access the slave, press A. To change the slave, press B.
To reboot the device, press C.If you want to remove the device from the list, then press C then B, instead of the slave device icon, the basket and serial number will be displayed. Use B to select the device to be deleted and press A (or C to cancel).
The real-time clock is set by pressing the C key after rebooting the device. You can access the hours, minutes, year, month, and day with the B key, and change the value with the C key. To save, press the A key.
Let's see what happened (YouTube). In this video, Arduino duplicates the received command, and M5Stack finds the control value in it and signals about it.
Source code is available on GitHub
I hope that this project will soon receive a public assessment and will leave the prototype shelf. Thank you very much for your time.