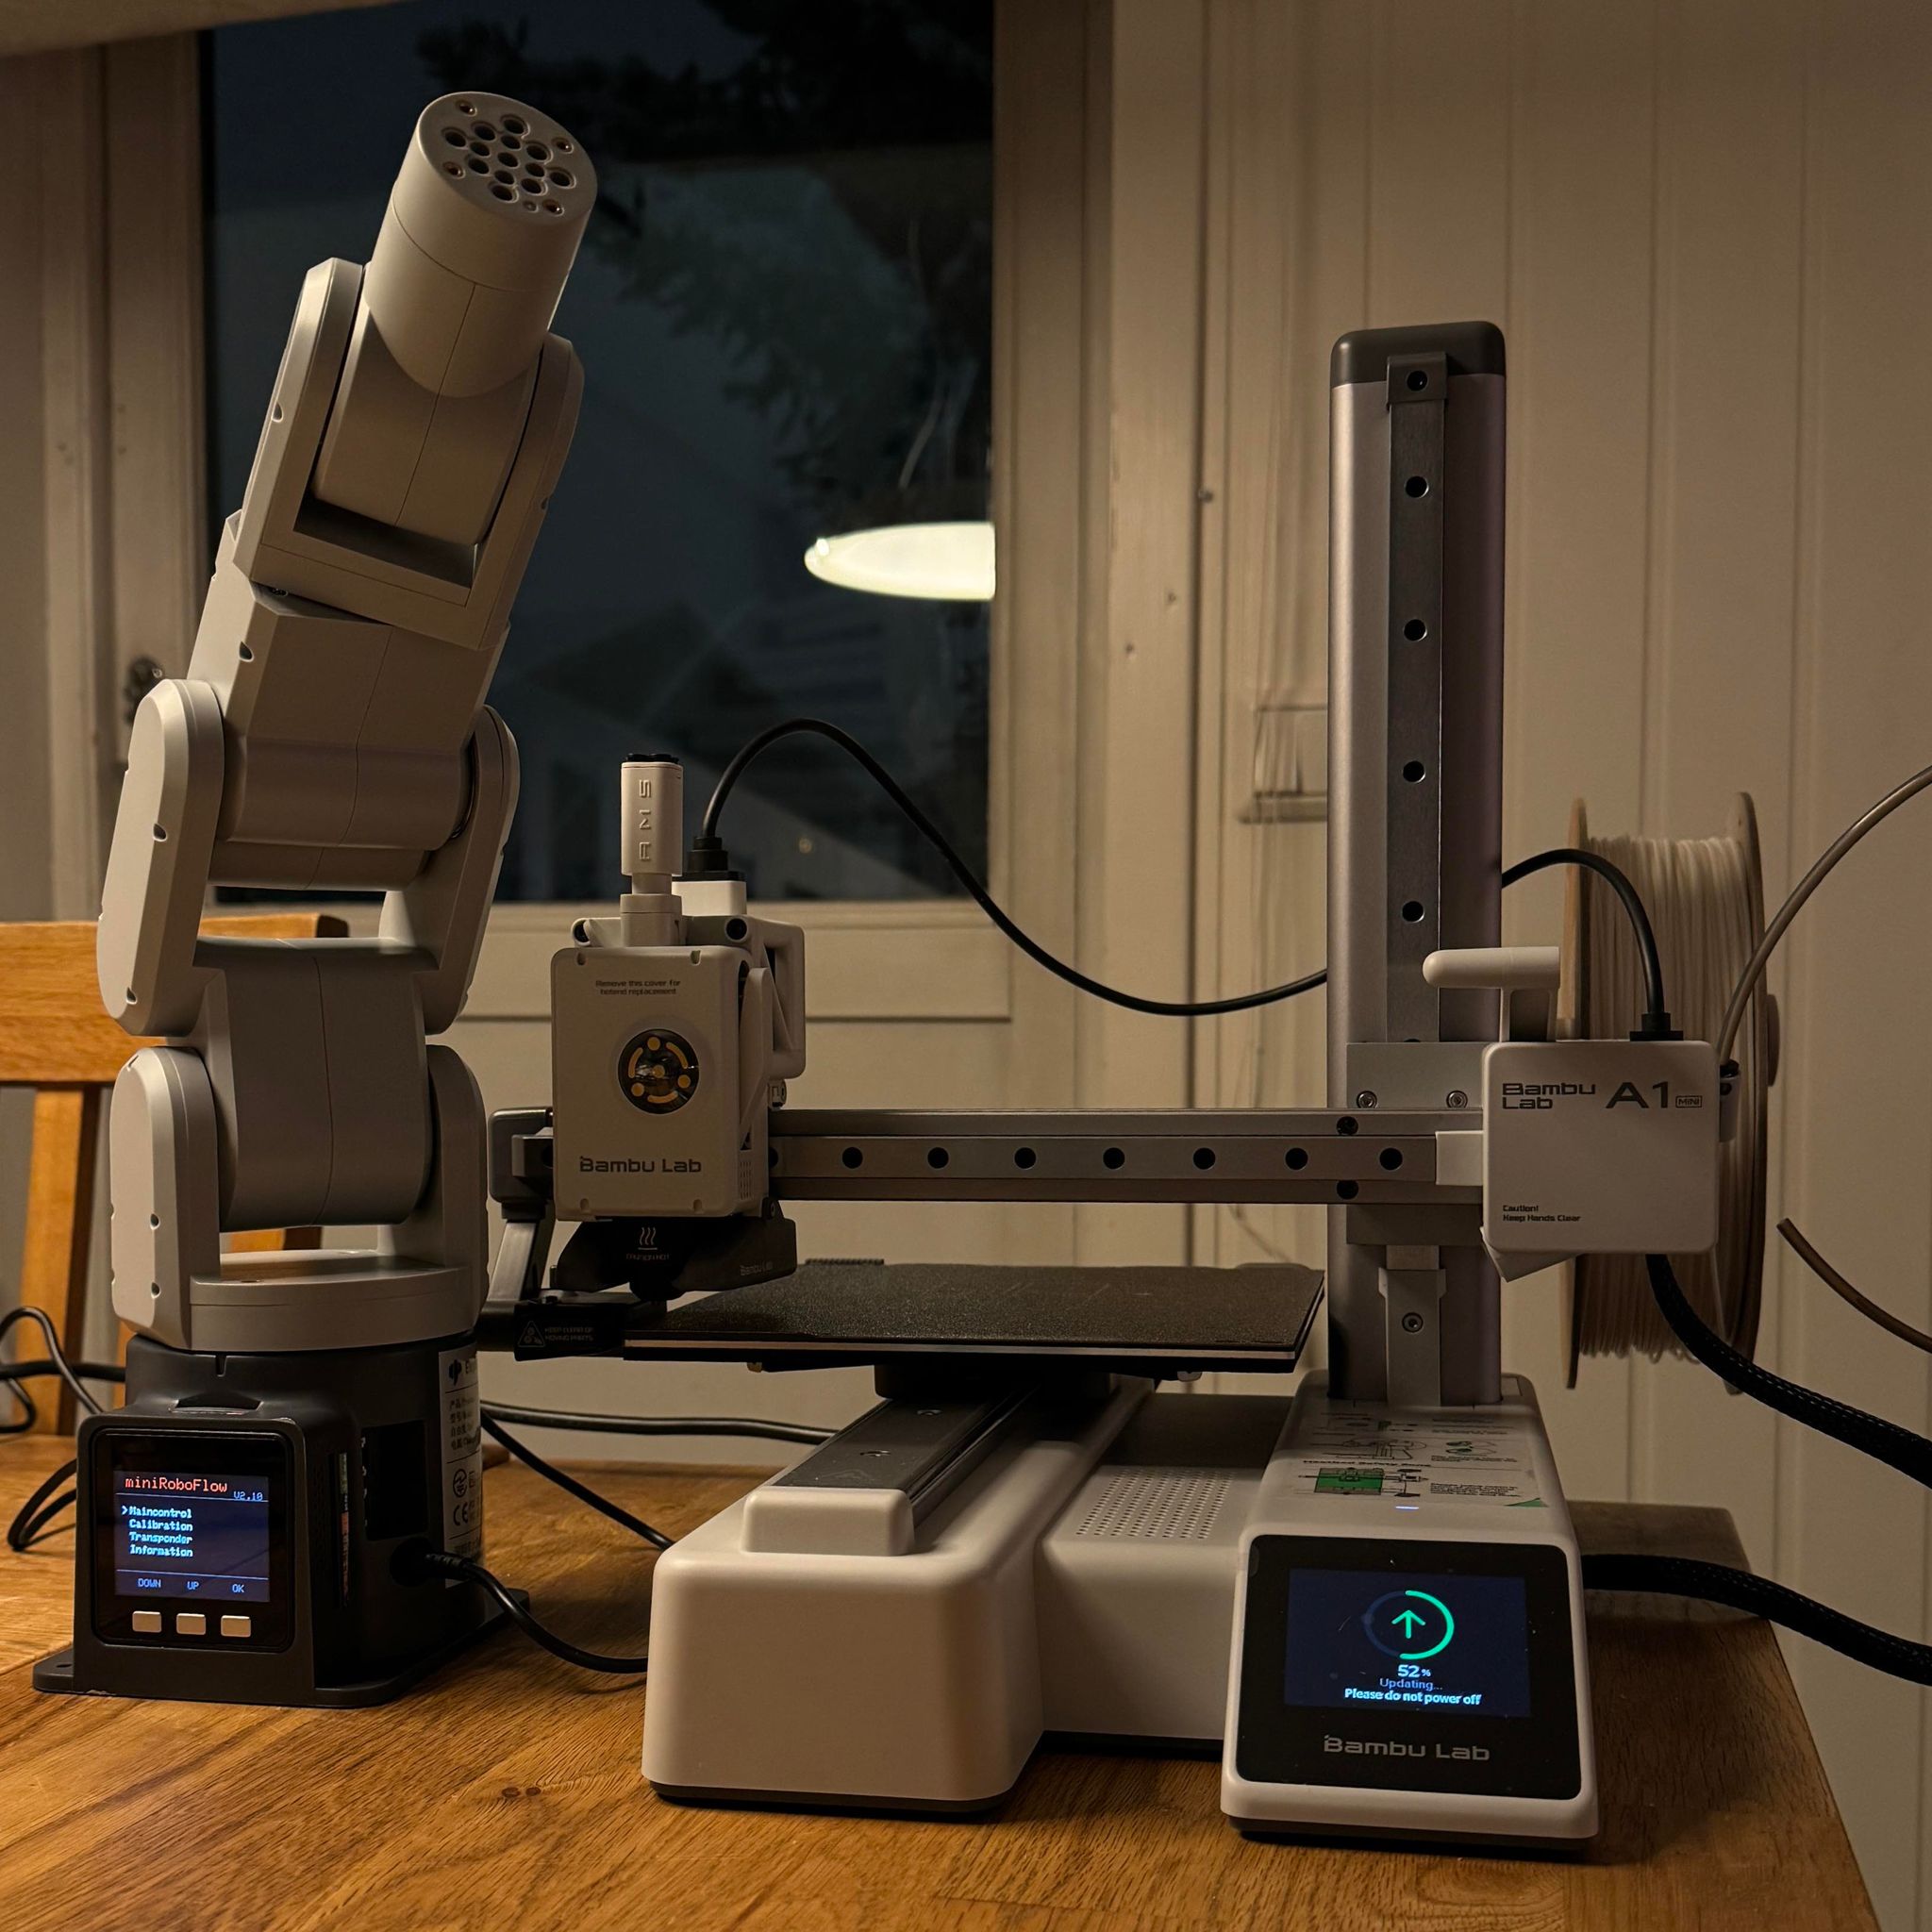
Mecharm 270-M5 as pickup arm for Bambu Lab A1 Mini 3d-printer
-
I`ll start with telling you all what inspired me to start this project.
Been working with prototyping within additive/3d-printing some years and want to automate the process when I need 100 or more parts.
Usually it is smaller parts that take short time to print, but need manuall operating by a person that pick up the part and press reprint.Bambu Lab 3d-printers are able to communicate with MQTT and from what I understand the Mecharm.
I just got the arm and printer before christmas with plans to get something done during christmas holiday. I got Pi400 that might be a brain to controll it all in the beginning.
Hope someone here might point me in a good direction to record movements so I don`t have to write the movement manually.Goal:
*Moving the arm manually to record the movement I need to pick up or push off the part out of the bed. (M5 got this ability)
*Store learned movement as commands so it is possible to playback the movement by sending commands to the arm rather then just "playback"
*Trigger this movement when the 3d-printer give a status "print finish" via MQTT.
*When the arm is finished with it`s movement the printer is given the command to reprint (MQTT?)
Bonus task:
*Record and store several different movements under names related to the 3d-print so it is possible to trigger the correct movement based on what is printed.
*LCD touch display to choose 3d-prints and then start print + pickup. Easier to operate for non trained personell or as a fun shop 3d-printer so customer are able to start and pay for it`s print and then wait until it is finished and drop in a bin. Keychains and similar.
*Shopify integration to send purchased 3d-prints on shopify store to first available printer and then start the print and then pickup the so it is ready for next print.

-
First movement test with the arm mounted to the rig.
-
Looks quite interesting.
Have you planned on any code to make sure the arm can't hit the printhead when operating?
Looked to be close on the vid, but that might have been the perspective..
I guess my next project would be a pickup arm... -
@skyggen It should not be able to get there at all and the head would be maxed up after print.
I am looking for a method to record the manual movement and then replay it from the ubuntu pc.
Last answer I got from Elephantrobotics is this about saving movement of the arm to sd card or pc.
At the moment I am a bit stuck on what is best approach to record the movement and then send this to the arm when printer is finished with a print.Greetings, hope everything goes well there for you!
This is Jenny, the after-sales technical supporter of Elephant Robotics.
We have received your request to change the address of the drag point data, but we are sorry that this request cannot be realised at the moment.The M5 version of the drag-teach programme is controlled by the firmware, and since the firmware content cannot be changed, the address where the drag-teach point data is stored is also fixed and cannot be changed.
Regarding the reading of the points after a single drag, we suggest you try to use the following code.
Importing the Official Python API
from pymycobot.mycobot import MyCobot
Importing the Time Module
import time
Setting up Serial Connection, Serial Port, Baud Rate
M5 version, specific serial port number needs to be checked in Device Manager
mc = MyCobot('COM0', 1000000)
Set a slight waiting time, 0.5 seconds
time.sleep(0.5)
Release all joints of the robotic arm, please support the robotic arm by hand
mc.release_all_servos()
Set waiting time, can be adjusted as needed; at this point, the robotic arm can be moved to the target position
time.sleep(5)
Power on the robotic arm and fix it in the target position
mc.power_on()
Read the coordinate information and angle information of the current position and output to the console
print('Coordinates:', mc.get_coords())
print('Angles:', mc.get_angles())
If you have any other questions about the use of the case, please feel free to contact us!
Hello! It looks like you're interested in this conversation, but you don't have an account yet.
Getting fed up of having to scroll through the same posts each visit? When you register for an account, you'll always come back to exactly where you were before, and choose to be notified of new replies (either via email, or push notification). You'll also be able to save bookmarks and upvote posts to show your appreciation to other community members.
With your input, this post could be even better 💗
Register Login